To make an AI video from a photo, upload a clear image to an image-to-video tool, describe one movement, and generate a short clip.
A scene remake uses your photo as a person reference. OopShort's Football Remix demo shows the difference.
Decide what you want to keep from the photo
In a typical image-to-video workflow, your photo is the first frame. The camera angle, subject, and lighting are already there; the prompt describes what moves. Runway's image-to-video guide explains this relationship between the image and the motion prompt.
A subject reference works differently. It gives the workflow a person to put into another scene. That scene may have different clothes, a different background, or a completely different camera angle.
Compare these three images from the Football Remix demo:
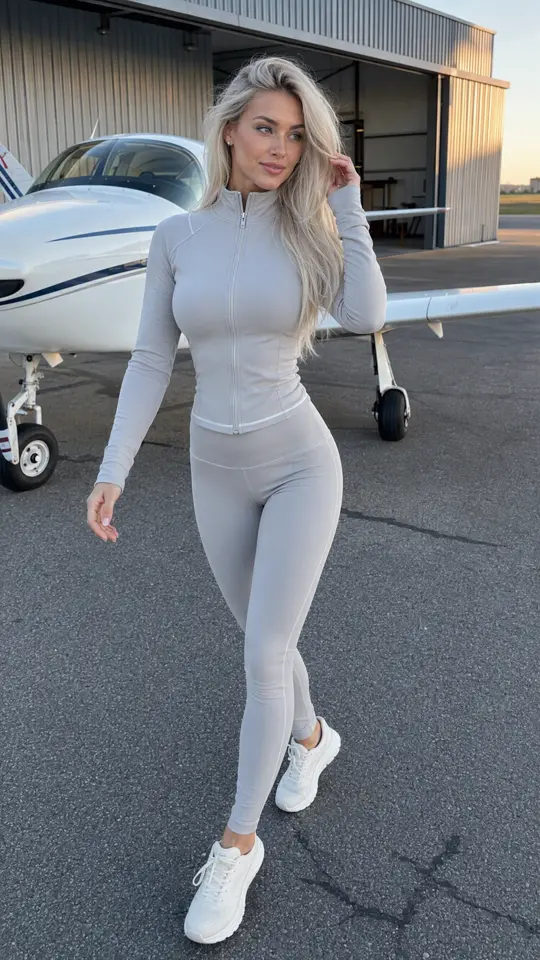
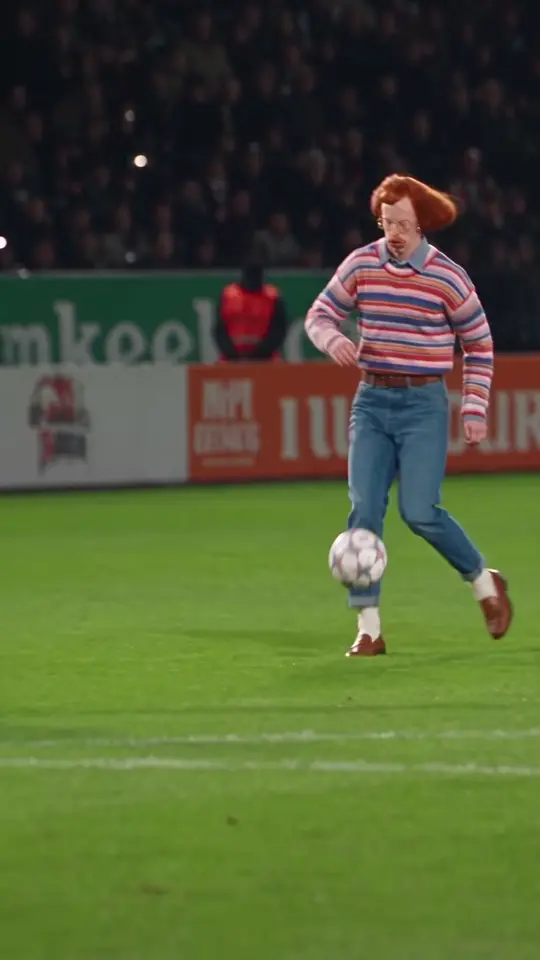
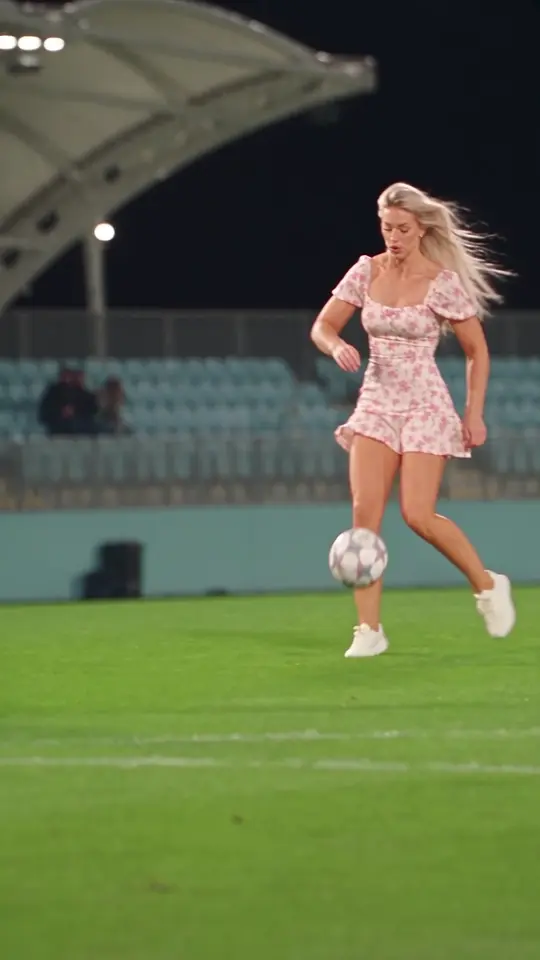
Look at her outfit. It's gray in the reference photo and floral in the result. The airplane has gone, too. The person is being placed into the football scene, so the original photo's clothes and setting don't carry over unchanged.
If the outfit or background is the reason you chose a photo, pay attention to that difference before picking a workflow.
How to animate a photo, step by step
1. Choose a photo that fits the shot
A close-up gives you a good look at a face. It won't provide a full-body reference if that's what the scene asks for. Read the input label before you hunt for the perfect picture.
Use a sharp photo where the face is easy to see. Watch for sunglasses, hair across the eyes, or a hand covering part of the face. Check hands as well: Runway notes that defects in an input image can become more noticeable when it starts to move.
Before uploading, check the file requirements and make sure you have permission to use the photo.
2. Upload it as the starting frame
Choose the editor's image-to-video mode and add your photo. Check the crop in the preview before going further. If you're making a vertical clip, keep the face and any hands needed for the action inside the frame.
For a prepared scene, follow its input labels instead. A field asking for a subject reference has a different job from a field asking for the opening frame.
3. Describe one clear movement
In a prompt-based editor, describe what happens next. For a portrait, you could start with:
The person slowly turns toward the camera and smiles. The camera stays still.
You can judge whether the turn happened and whether the camera moved. "Make it cinematic" leaves those decisions open. If you want a wave as well, add it after you have a version with a turn you like.
Runway's Gen-4 prompting guide recommends starting with simple motion descriptions, then refining them.
This example is written for a portrait animation. The football demo uses a prepared scene.
4. Check the cost, generate, and watch the whole clip
Choose from the duration and format options your editor offers, then check the displayed credit cost before submitting. Leave room in your budget for another attempt. A price per generation isn't a price per usable clip.
Once the clip is ready, watch it at normal speed. Does the action make sense without an explanation? Look at the face during the turn, then watch the ending. Download it when the movement and framing work for your intended use.
What if the result looks wrong?
Pick the most noticeable problem and change one input for the next attempt:
The face is hard to recognize: try a sharper reference with the face unobstructed. Keep the action simple enough to compare.
The camera moves when you wanted it still: state that the camera stays still, and remove any pan, zoom, or tracking direction from your prompt.
Too much happens at once: reduce the prompt to one movement. Get the turn working before adding a wave or a walk.
The photo's outfit or background disappears: check whether you supplied a subject reference to a new scene. Use a starting-frame workflow when the original composition matters.
Keep the other settings the same so you can tell whether the change helped.
Prefer a prepared scene? Start with the example
On OopShort, a prepared scene handles the prompt and model settings. You supply the materials listed in its input fields. Watch its example all the way through before choosing it.
For a football clip, look at the moment the foot meets the ball. If the ball changes shape or the foot misses it, a still image won't show you that problem. Watch the clip through to the ending before deciding it worked.
A demo shows the idea. The scene's page tells you which inputs it needs and whether you can generate your own version. For the account and generation flow, see how OopShort works.
Is one photo enough?
For an image-to-video tool, one starting image and a motion prompt may be enough. A scene remake can ask for a reference video or more photos. Open the scene first and check its inputs before you spend time preparing extra files.
Can I make the person in the photo talk?
Look for a workflow that explicitly supports talking photos or lip sync. Check whether it accepts a script, an audio file, or an existing video. A prompt asking someone to smile doesn't provide spoken dialogue or guarantee lip sync.